To Dry Apples
From the treasured pages of Cookbook of 1725
Unknown Author

To Dry Apples
"Take your Apples & lay them them into an Oven, after Bread has been drawn, let Them Stand till the next Day, Then take them out of the Pan & flat them alittle. Lay them on asieve, & set them in a warm Oven. Turn them every Day & flat them till they are dry."
Note on the Original Text
The recipe is written in straightforward imperative style, aimed at cooks familiar with their tools and settings—no measurements or precise timings, because those varied by apple type and oven. Spelling is non-standard ('flat them alittle'), showing the natural fluidity of written English at the time. The method depends on available oven heat and visual observation, a classic feature of early modern recipes: precise, yet requiring the cook’s active interpretation and touch.

Title
Cookbook of 1725 (1725)
You can also click the book image above to peruse the original tome
Writer
Unknown
Era
1725
Publisher
Unknown
Background
A delightful window into 18th-century kitchens, this historical culinary volume whisks readers away with its charming recipes and savory secrets from a bygone era.
Kindly made available by
Folger Shakespeare Library
This recipe hails from an early 18th-century English household manuscript, around 1725. Kitchens of the period were centered around massive wood-fired ovens, and nothing went to waste—including leftover oven heat. Dried fruit was essential for winter pantries, enabling preservation long before refrigeration or modern canning. Apples, abundant in English orchards, were a prime candidate for this treatment, becoming sweet, chewy morsels that could be enjoyed from autumn through the lean months. The process described—using residual oven warmth and repeated daily attention—captures both the rhythm of historic domestic life and the ingenuity of home cooks who maximized every resource.

In the early 1700s, household cooks used a brick or clay bread oven fired by wood. Apples were laid out in wide, shallow pans—often tin, copper, or ceramic—and dried using the gentle heat left over after bread baking. To encourage even drying, the apples were transferred to woven sieves or racks, set in a warm spot, and turned daily by hand. The process required patience, good judgment, and careful handling to prevent spoilage.
Prep Time
20 mins
Cook Time
P2DT0H0M
Servings
6
We've done our best to adapt this historical recipe for modern kitchens, but some details may still need refinement. We warmly welcome feedback from fellow cooks and culinary historians — your insights support the entire community!
Ingredients
- 2 lbs apples (any tart or sweet variety)
- Optional: Lemon juice (to prevent browning)
Instructions
- To recreate these delightful dried apples with modern techniques, begin with your choice of apples—about 2 pounds works well.
- Core and peel them, then place the apple halves or quarters on a baking sheet.
- Set your oven to a low heat, around 200°F, or use a dehydrator if you have one.
- Initially, place the apples in the preheated oven after baking something else, taking advantage of the residual warmth, and let them sit overnight.
- The next day, remove the apples, very gently press them to flatten slightly, and lay them on a rack or sieve.
- Return them to a warm oven (again, about 200°F).
- Each day, turn and gently flatten them, repeating until the apples are completely dry—this may take several days if done traditionally!
- Store in a cool, dry place.
Estimated Calories
52 per serving
Cooking Estimates
Preparing and slicing the apples takes about 20 minutes. Drying them in the oven is a slow process and can take 24 to 48 hours in total, with manual turning and pressing once a day. Each step is quick, but most of the time is just waiting while the apples dry.
As noted above, we have made our best effort to translate and adapt this historical recipe for modern kitchens, taking into account ingredients nowadays, cooking techniques, measurements, and so on. However, historical recipes often contain assumptions that require interpretation.
We'd love for anyone to help improve these adaptations. Community contributions are highly welcome. If you have suggestions, corrections, or cooking tips based on your experience with this recipe, please share them below.
Join the Discussion
Rate This Recipe

Dietary Preference
Main Ingredients

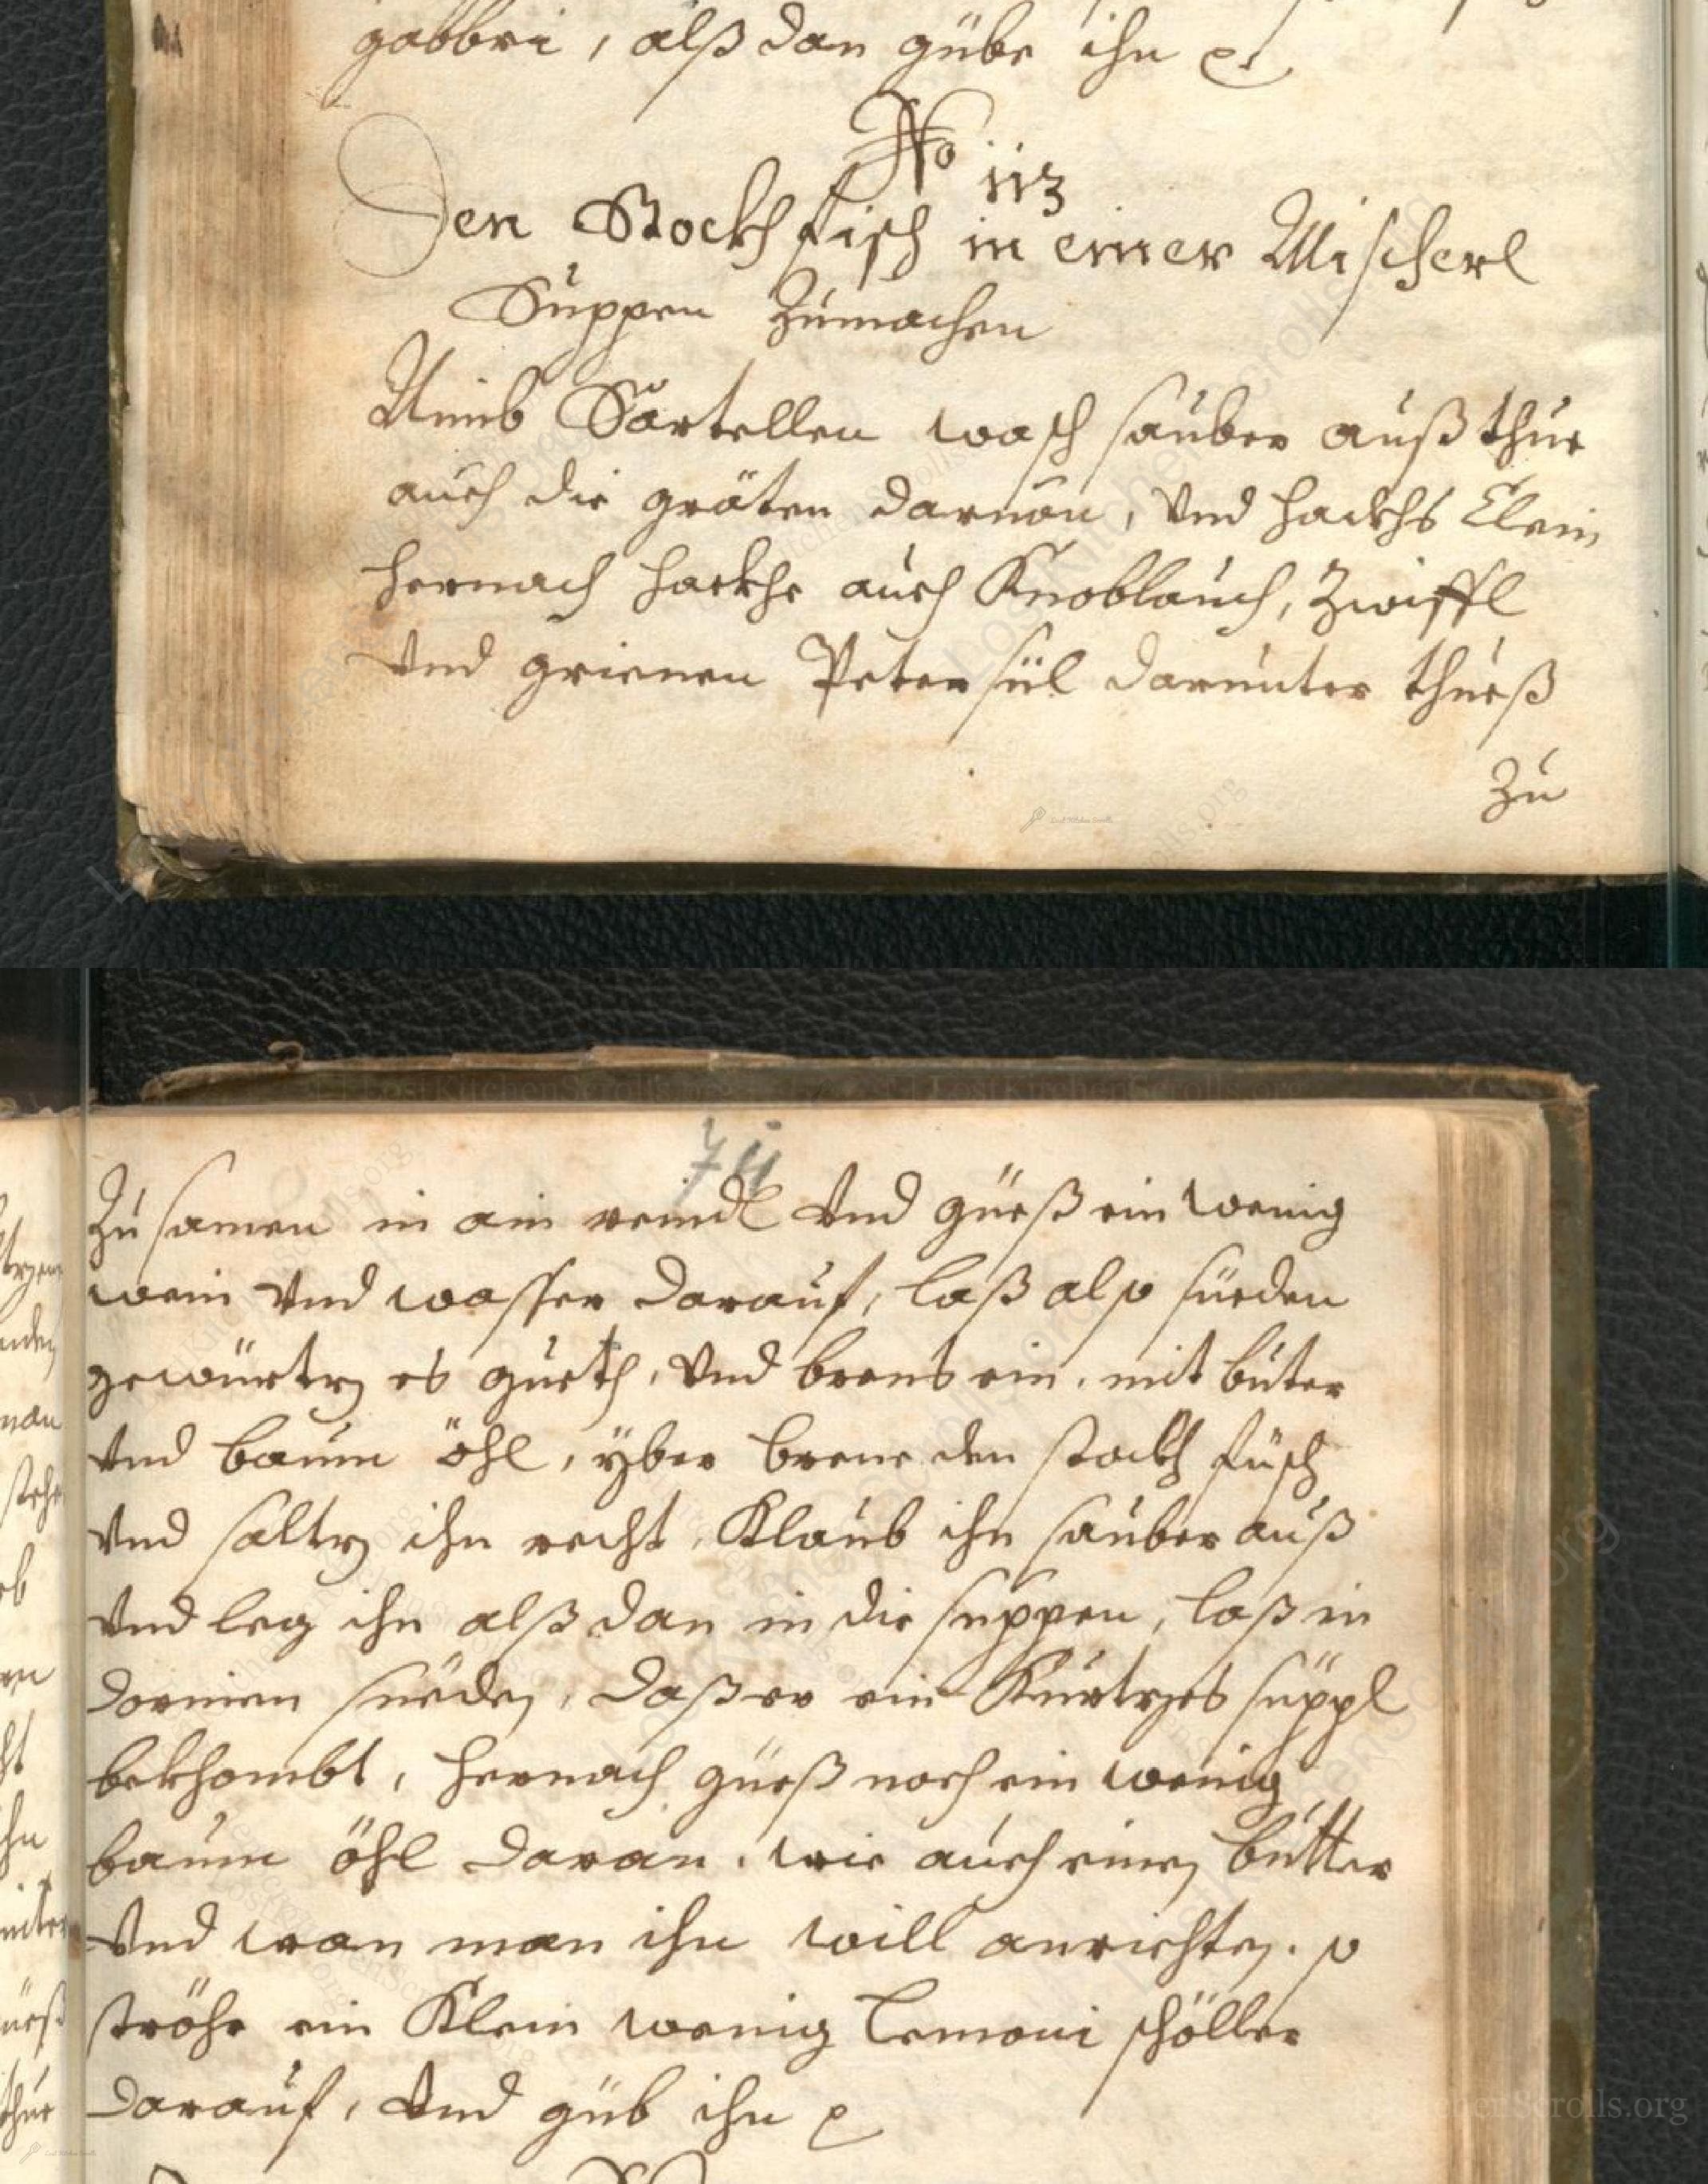
Den Bockfisch In Einer Fleisch Suppen Zu Kochen
This recipe hails from a German manuscript cookbook compiled in 1696, a time whe...

Die Grieß Nudlen Zumachen
This recipe comes from a rather mysterious manuscript cookbook, penned anonymous...

Ein Boudain
This recipe comes from an anonymous German-language manuscript cookbook from 169...

Ein Gesaltzen Citroni
This recipe, dating from 1696, comes from an extensive anonymous German cookbook...


Browse our complete collection of time-honored recipes